

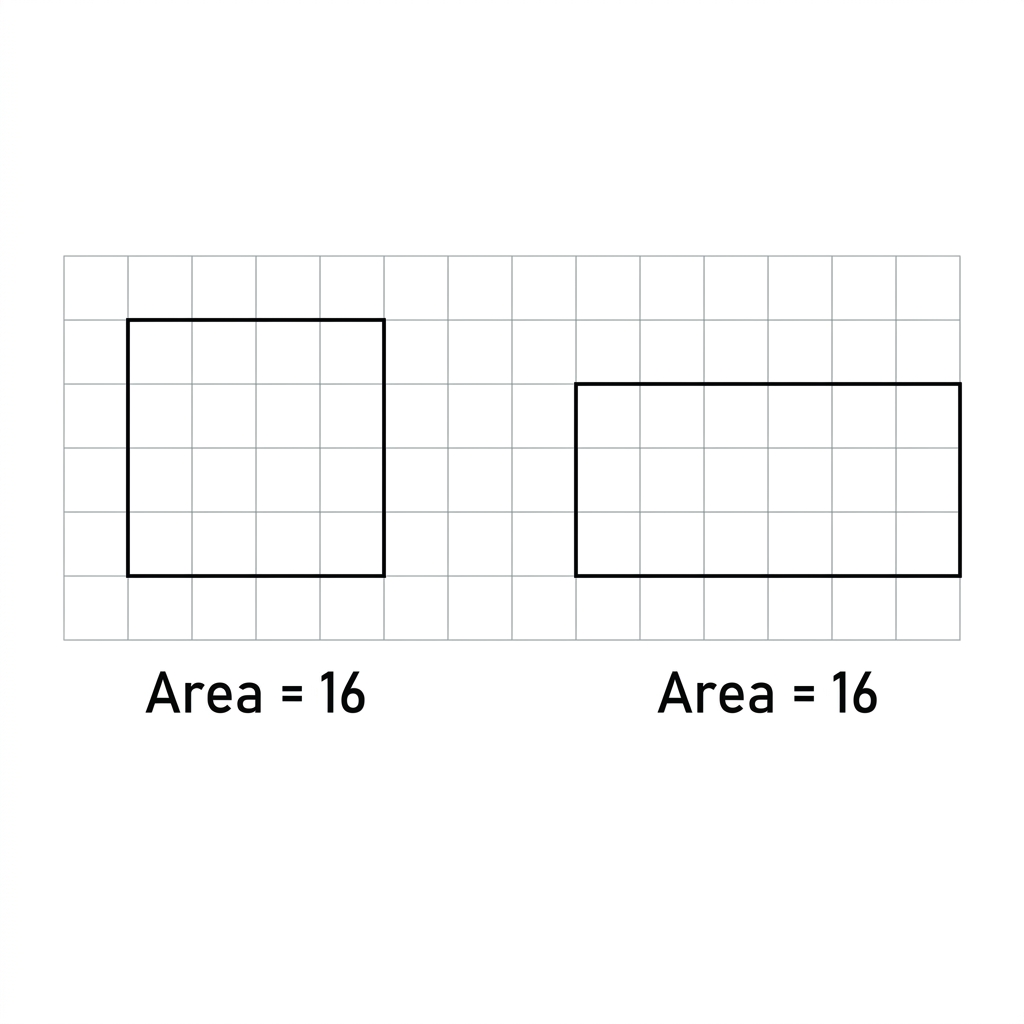
A parent once asked me why we bother teaching students about geometry transformations when computers handle all the resizing automatically. It is a fair question, but if a student does not understand the mechanics behind how shapes relate to one another, they are just clicking buttons instead of mastering the math. This 8th grade math lesson on Understanding Similar Figures is a great way to move beyond simple memorization.
The lesson starts by anchoring the concept in what students already know about rigid transformations. We have spent time in class looking at how shapes move on a coordinate grid without changing size or shape. To move into similarity, the lesson introduces the idea of proportional structure. It reminds students that similarity is about more than just moving a shape around; it is about recognizing how a figure can change size while maintaining its internal integrity. This foundational step is helpful for students who need to bridge the gap between simple slides or turns and the more complex task of resizing.
Starting with the basics of similarity
The mechanics of geometric similarity
The core of this work is grounded in CA.MATH.8.G.4. This California-adopted standard asks that students understand that a two-dimensional figure is similar to another if the second can be obtained from the first by a sequence of rotations, reflections, translations, and dilations. Students must also be able to describe that specific sequence to demonstrate they understand the relationship between the two figures. This exact standard is taught in classrooms across the state, from Mt. Diablo Unified, Garden Grove Unified, and Santa Paula Unified to Greenfield Union Elementary School District.

The lesson defines two key terms clearly to keep everyone on the same page. A figure is similar if one can be obtained from the other by a sequence of rotations, reflections, translations, and dilations. A dilation is defined as a transformation that changes the size of a figure by a scale factor, making it larger or smaller while keeping its shape. I appreciate how the lesson focuses on the sequence itself, which prevents students from just guessing the final result without identifying the steps taken to get there.
Using transformations in practice
To put this into action, the lesson uses a concrete 8th grade geometry similarity lesson to show students how these concepts work. For example, it presents two L-shaped polygons on a grid. The example demonstrates that if you rotate the first L-shape and then dilate it, you can perfectly match the second L-shape. It is a clear, manageable visual that shows how a sequence of transformations functions in practice. Seeing that L-shape rotate and then grow or shrink helps students visualize the math rather than just staring at coordinate pairs.
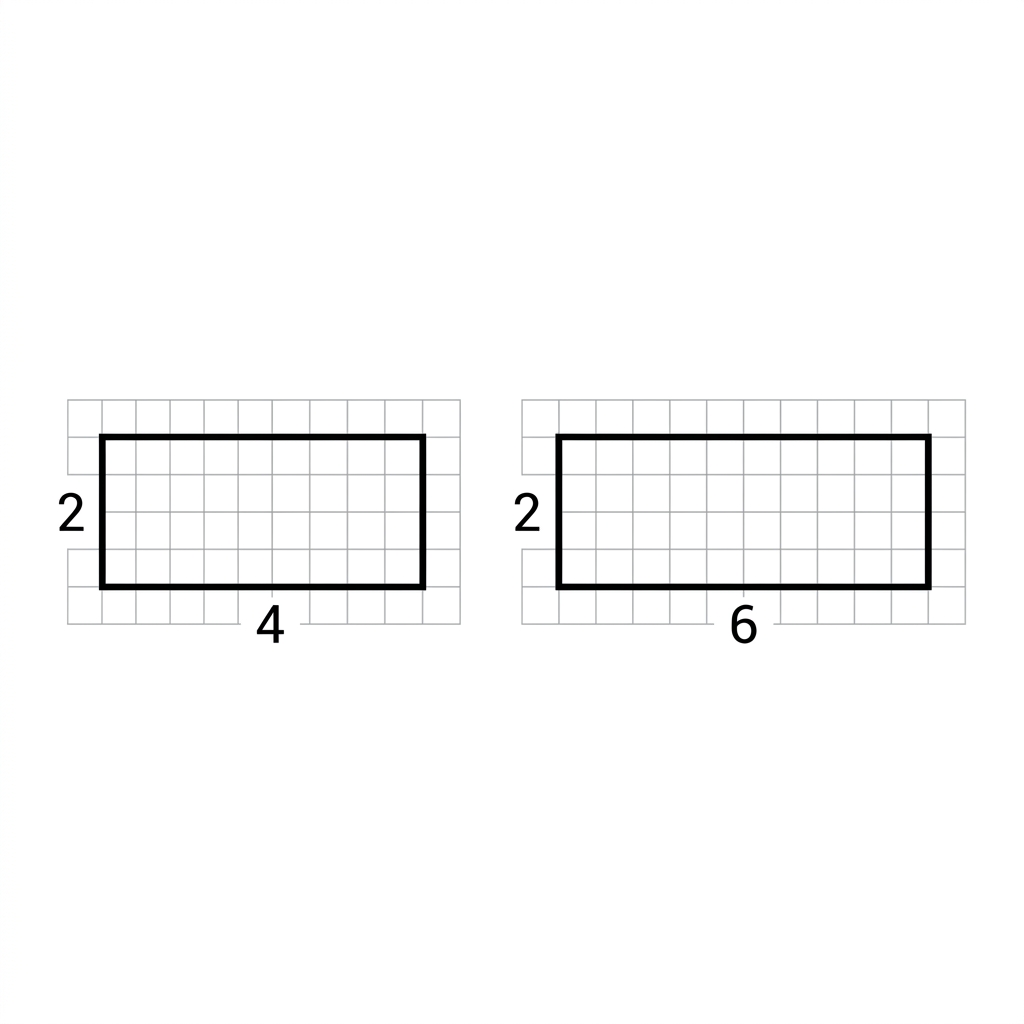
The guided practice moves things along by asking students to look at a complex polygon. This one requires a sequence of three transformations to prove similarity to a second polygon. I found that this is where the students usually stumble. They get the first two steps right but often lose track of the third. It forces them to slow down and map out each movement systematically. If a student tries to rush, they usually miss a reflection or get the dilation factor wrong. This is excellent practice for identifying common errors before they become habits.
Applying the logic to real scenarios
We often tell our students that geometry is for engineers or architects, but this lesson uses graphic design to make the point more relevant. It explains that graphic designers use scaling and rotation tools to ensure that images keep their proportions when they are resized for different screens. This is a practical, everyday application that most students can grasp easily. Whether they are resizing an image for a presentation or adjusting a profile picture, they are performing dilations and transformations.
I recommend using this material as a whole-class assignment when you first introduce the topic. It is also quite effective for a student who missed the week, as the guided practice provides enough scaffolding for them to catch up without you having to re-teach the entire unit during your planning period. I have also used it for intervention groups that need more time working with coordinate planes. It is straightforward and keeps the focus strictly on the math, which is often exactly what a struggling student needs. Just remember to keep an eye on how they identify the specific scale factor during the dilation step, as that is frequently the trickiest part for them to articulate clearly in words.
Related lessons
Understanding Congruence Through Rigid Transformations, Teaches identifying rigid transformations to prove figures are congruent
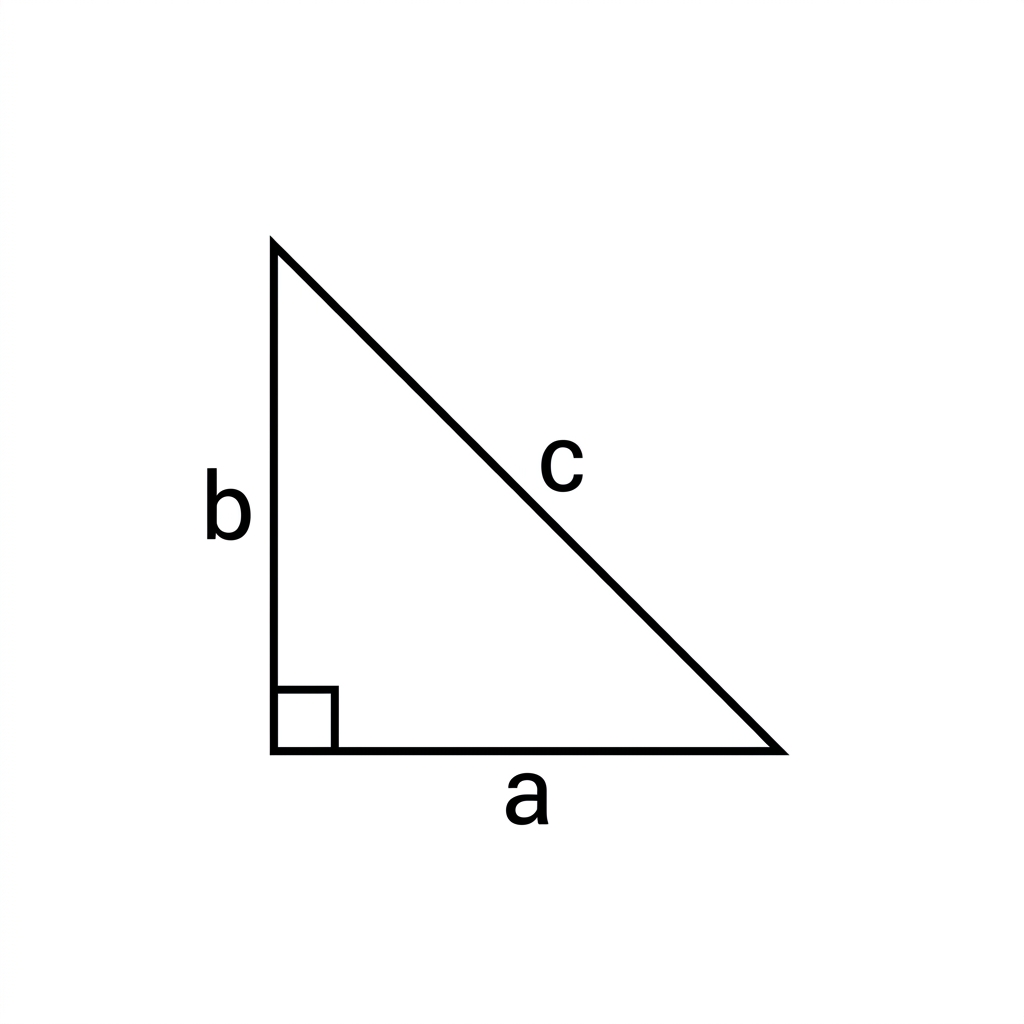
Understanding the Pythagorean Theorem, Explains the relationship between sides of a right triangle
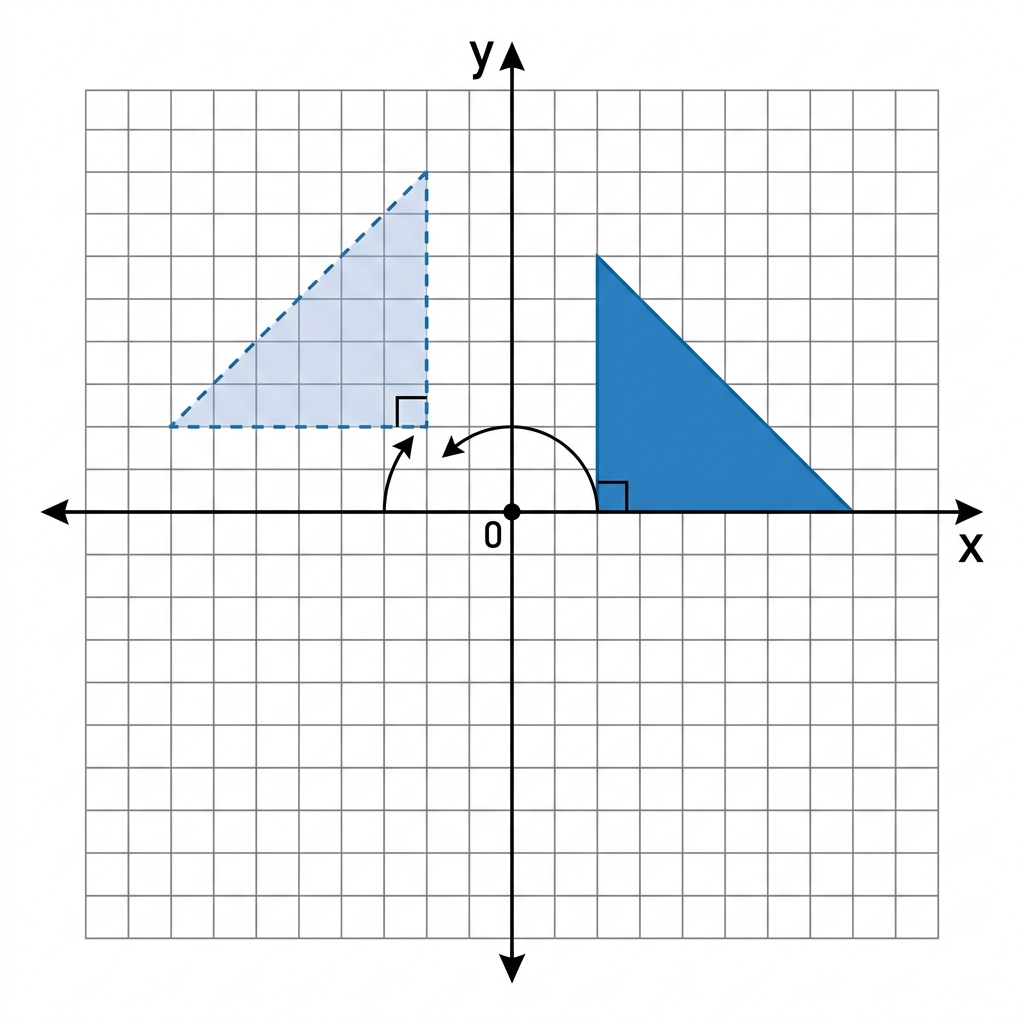
Understanding Rigid Transformations, Covers translations reflections and rotations on a coordinate grid