

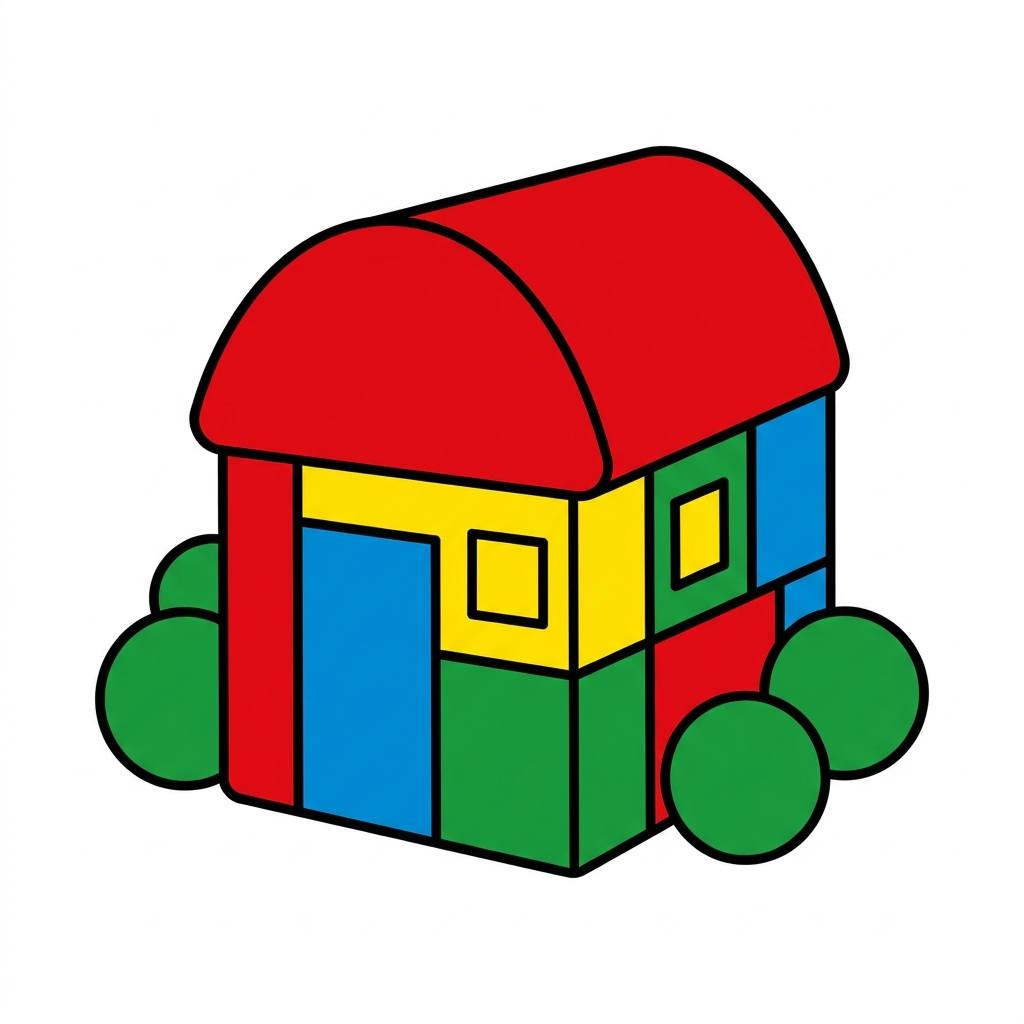
This first grade social studies lesson does not ask students to become cartographers or spend hours building elaborate dioramas. Instead, it gets straight to the point of helping them recognize how different visual aids represent our surroundings. The Models and Pictures lesson focuses on a fundamental shift in perspective for seven-year-olds: moving between a flat image and a tangible, three-dimensional representation of the same spot.
In a typical first grade social studies class, we often jump straight into maps, but this lesson slows things down to look at how we gather information. The core concept here is that students learn to identify what a model provides that a flat picture cannot, and vice versa. It is about building observation skills before we start measuring distances or plotting coordinates. This lesson is short, taking about 15 minutes, making it a perfect addition to a day when you are short on time or need a quick way to ground students in geographical basics.
What the lesson actually asks students to do
The lesson asks students to look closely at a specific location and describe what they see in a three-dimensional model versus what they see in a picture. By comparing these, students learn to distinguish between depth and flat surface details. They practice using vocabulary like model, picture, location, and characteristic to explain their findings. When a student can say why a model helps them see the back of a building while a picture shows them the front view, they are hitting the exact goal of this activity. Educators in Twin Rivers Unified, Folsom-Cordova Unified, Cupertino Union School District, and Burton Elementary School District all teach this same concept, ensuring that our youngest learners across the state build a consistent understanding of spatial tools.

This material directly addresses CA.HSS-1.2.2, which is the California-adopted standard for this grade level. The standard specifically asks students to compare the information that can be derived from a three-dimensional model to the information that can be derived from a picture of the same location. It is part of the broader framework where students examine the physical and human characteristics of places, helping them connect to the world beyond their own classrooms. I find that when students engage with these first grade spatial representation activities, they stop seeing maps as just paper and start seeing them as vital tools for discovery.
Where students slip and how to support them
The biggest hurdle I have seen with this lesson is when students assume that a model is always ‘better’ than a picture, or that one is more real than the other. They often get caught up in the physical object, wanting to play with the model rather than analyze its perspective. It is useful to prompt them with specific questions: What can you see from the side of this model that you cannot see in the photo? What colors or details are easier to identify in the picture? By keeping the focus on the information gained rather than the object itself, you help them develop the analytical habit the standard requires.
If you have a student who missed the week or needs a quick intervention to catch up on geographic literacy, this lesson fits perfectly. It is also a solid choice for a substitute day because the instructions are straightforward and the timeframe is manageable. It does not require a pile of supplies, which is a nice relief for teachers dealing with a full schedule. Because it takes so little time, it is an efficient way to cover the material without disrupting the flow of your larger units on community or local history.
Bringing the concept into the classroom routine
I like to use this lesson as a quick bridge between studying our own classroom and learning about our neighborhood. After the students have completed the lesson, ask them to identify one thing in our room that they would build a model for and one thing they would simply take a picture of. It sounds simple, but it forces them to think about why we choose specific tools for specific tasks. When they can articulate that difference, they have really grasped the heart of the standard. This approach prevents them from just rushing through the work and encourages them to actually look at the world around them as a collection of places that can be observed and documented.
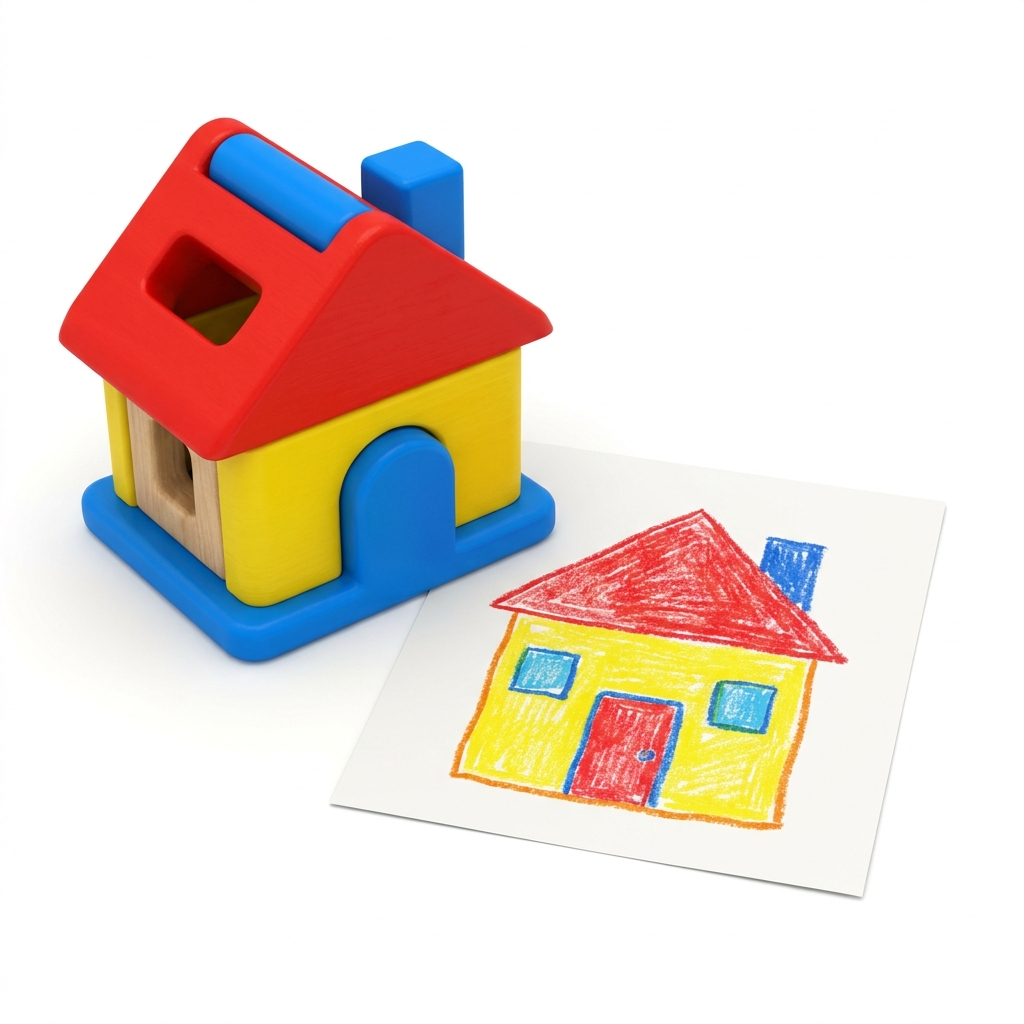
You might find that some students struggle to verbalize the difference between the two formats. If that happens, have them draw a picture of the model they are looking at. The act of translating the 3D form back into a 2D image is an excellent way to reinforce exactly what they are doing when they compare the two. This lesson is not about memorizing definitions; it is about practice in seeing. Use it whenever you need to steady the class during a transition or if you feel they need a firmer foundation before moving on to mapping streets or neighborhoods.
Related lessons
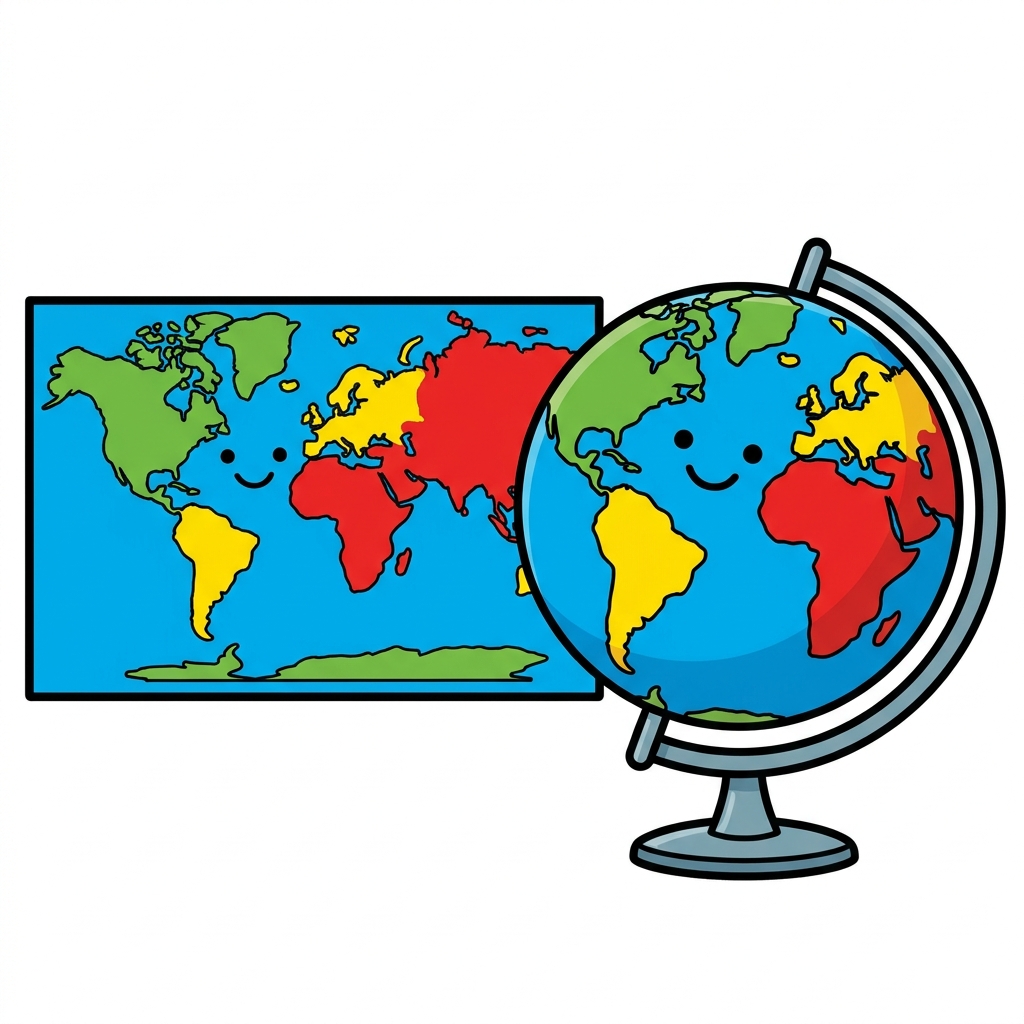
Where Do We Live?, Discusses identifying neighborhoods and our place in the local area
How Things Change, Looks at how environments shift over time and seasons
Finding Our Way, Introduces basic mapping skills and reading simple directions